Mocha is smart and very precise, but this doesn’t mean it will track out of it’s capabilities. As discussed in my previous post on motion blurred and shaky footage. In this post I will take you guys through some low lighting footage that are possible not for tracking, even if it works it will give you a big headache, and almost you will need to define and redefine patterns once it is lost during tracking process.
One evenings I had my own DSLR camera with me and thought lets film my desk, and TV using the normal ceiling lights. I think it was a good learning curve to find out that tracking is not only about just a pattern, or a point – it completely works with details and the more clear and better details we can cover in tracking process the better and accurate results we get, but this means more processing, more time and better machine/computer needed – otherwise you will end up keeping fed up like what happened to me using my laptop.
There is nothing wrong doing experiments, I actually suggest the more you work around your experiments and ideas the better you will learn and get idea of how things function and it enables you to create conclusion and be safe in the future, rather than ending with upsetting results.
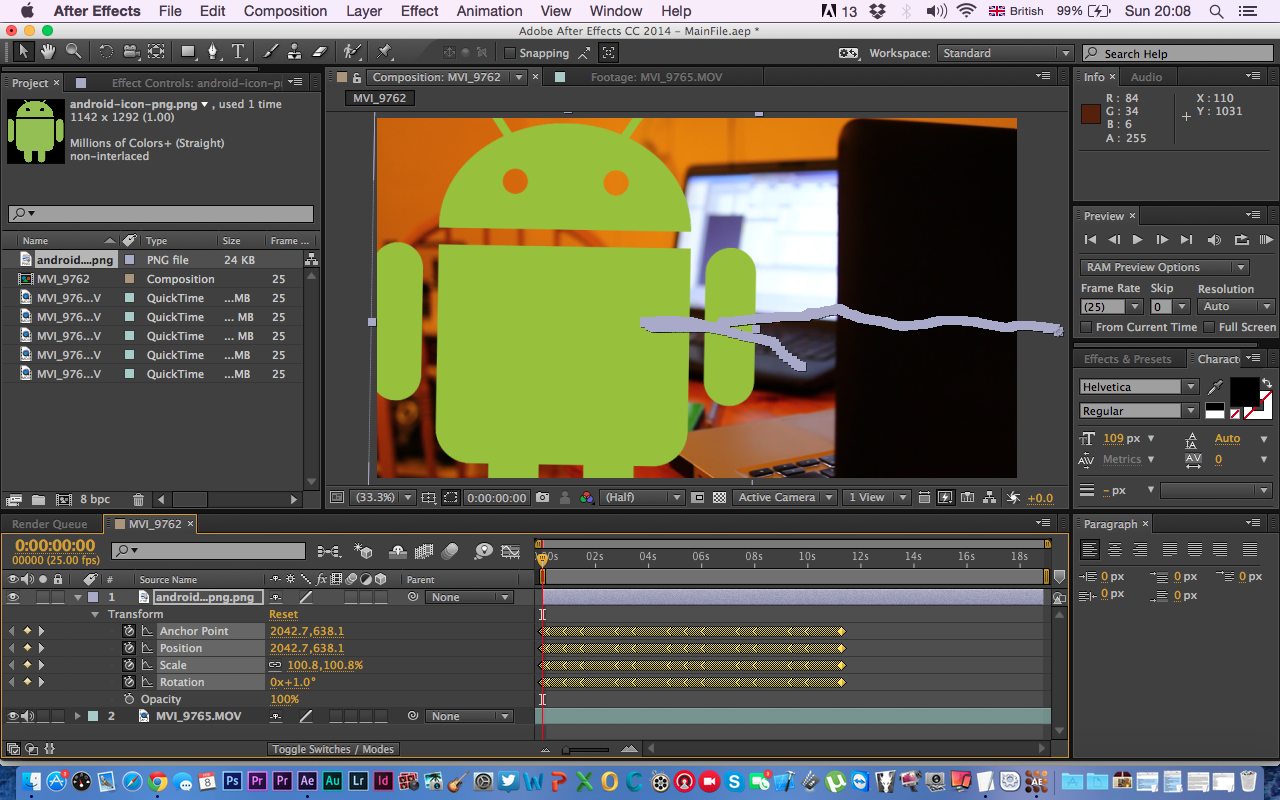
I filmed my laptop which has a cover on it that cover is basically brownish not even near black or dark and this way I thought I will only track one point that is the brightest part of the cover. This tracking point was the apple logo and that some how worked but was not a smart tracking area, as the laptop cover due to low light turned completely black and that contributed to have a non-pattern or detailed area which was only black colour and the logo light was white from the reflection of the laptop led. I was frustrated but some how I ended up doing half track forward and half then track backward, this was a long process and I actually manually had to define most of the frames for mocha to track. Once my tracking process was done, I exported necessarily data/pin points and transform details to After Effects to get the logo replaced with lets say a mango or android logo. The result was not that acceptable but as a test stage it did turn out to give me main concept a move and more steering to me what to be done and should be taken into account.
Example 1: You can clearly see that the video is sort of handheld pan with sliding to the logo area. (Left to right move). As the lighting is poor this gives away that the tracking will be messy and will be lost, thought details are non existence and not covered at all – even if I try to cover some details from other parts of the footage that will be not useful because they are out of focus and blurred.


Considering these examples and mainly this experiment I am pretty sure that details and lighting are the two main contributors to a good and accurate tracking process in mocha. In my next posts I will be discussing on the outcomes some processed mocha tracking examples – video examples.
